
DIY Cardboard Bookshelf: Easy Instructions
In an age where sustainability and creativity converge, DIY projects have become a delightful way to express individuality while being eco-conscious. Cardboard Boxes Sydney . One such project that stands out, particularly for book lovers and students alike, is the DIY cardboard bookshelf. Not only is it an affordable and resourceful alternative to traditional bookshelves, but it also allows for a personal touch that can brighten up any space. In this essay, we'll explore the simple steps to create your own cardboard bookshelf, along with tips to enhance its aesthetics and functionality.
Materials Needed
Before you dive into the project, gather your materials.
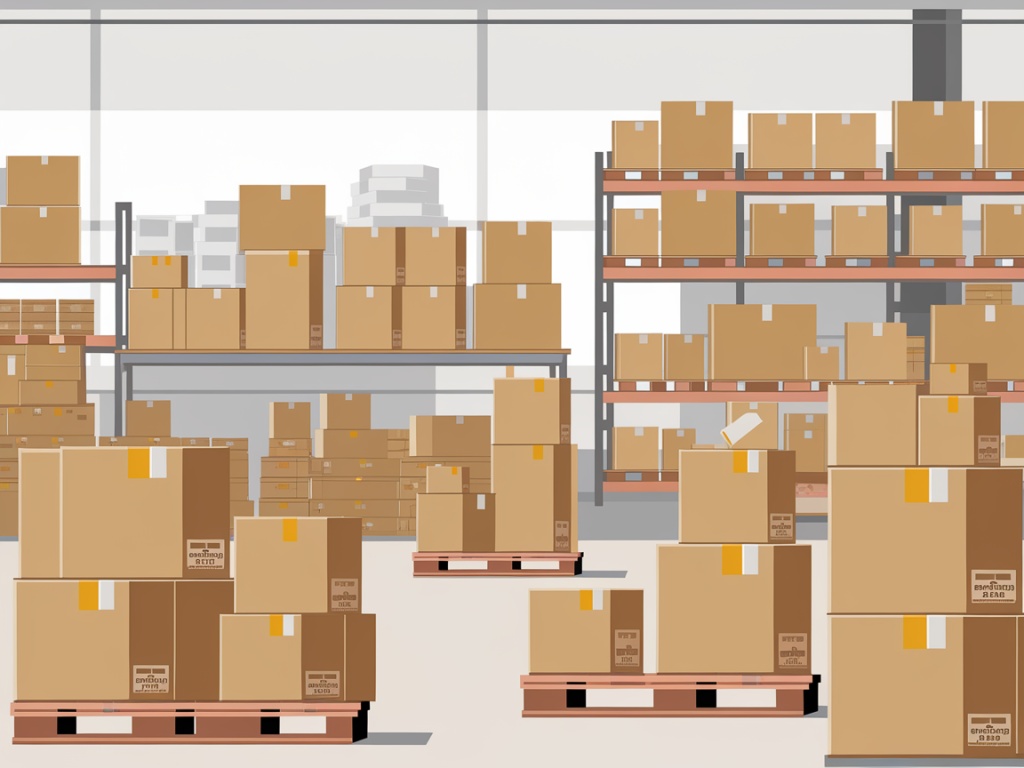
DIY Cardboard Bookshelf: Easy Instructions - Pharmaceutical cardboard packaging boxes
- Custom dispenser style cardboard box packaging
- Secure cardboard box shipping security seals
- Heavy duty double wall cardboard boxes
- Rigid cardboard gift boxes with lids
- Temperature controlled insulated cardboard boxes
- Cardboard boxes (the sturdier, the better)
- A box cutter or utility knife
- A ruler
- A pencil
- Hot glue gun or strong adhesive tape
- Decorative paper or paint (optional)
- A craft knife (for finer cuts)
- A cutting mat or old cardboard piece (to protect surfaces)
Step-by-Step Instructions
Step 1: Design Your Bookshelf
Begin by sketching a design of your bookshelf. Consider how many shelves you want and the dimensions based on the space available and the number of books you plan to store.
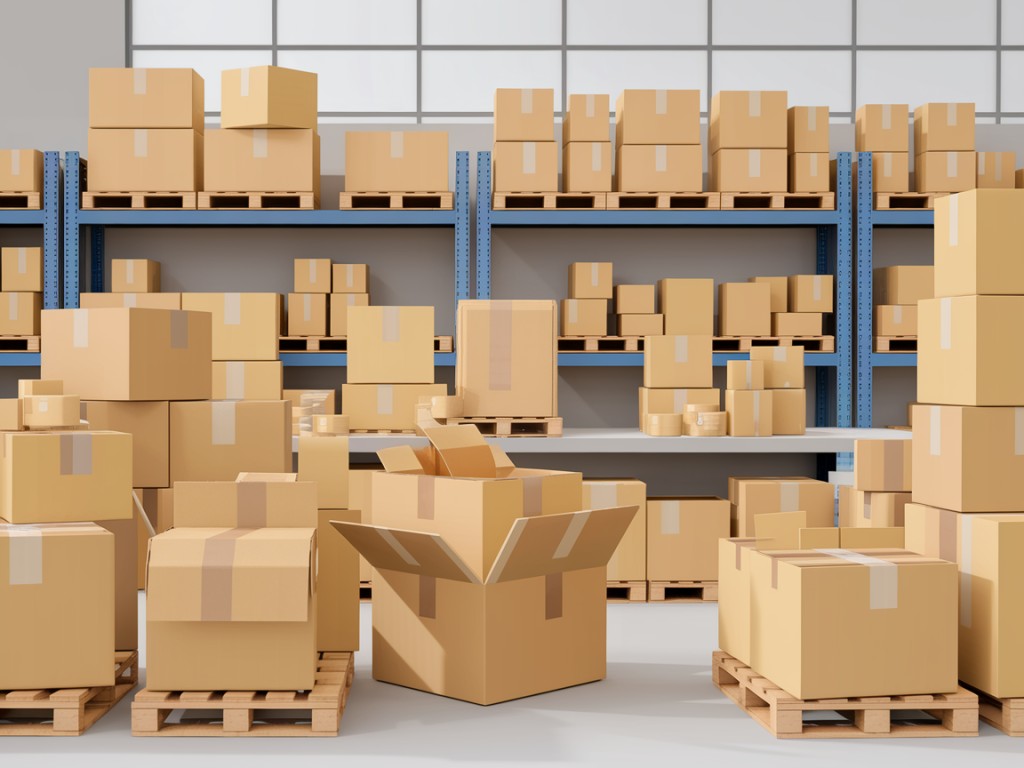
DIY Cardboard Bookshelf: Easy Instructions - Corrugated cardboard art portfolio boxes
- Stackable cardboard storage boxes with lids
- Stack and nest cardboard storage containers
- Insulated cardboard boxes for perishable goods
- Fast turnaround custom cardboard box printing
- Cardboard boxes with tamper evident seals
Step 2: Prepare the Cardboard
Once you have your design, it's time to prepare your cardboard. Use the box cutter to cut the cardboard into pieces according to your measurements. For example, for a three-shelf bookshelf, you will need two side panels, three horizontal shelves, and a top panel. Make sure to cut all pieces neatly to ensure stability and a professional look.
Step 3: Assemble the Shelves
Start by attaching the side panels to the bottom shelf. Apply a generous amount of glue or tape along the edge of the shelf and press it firmly against the side panel.
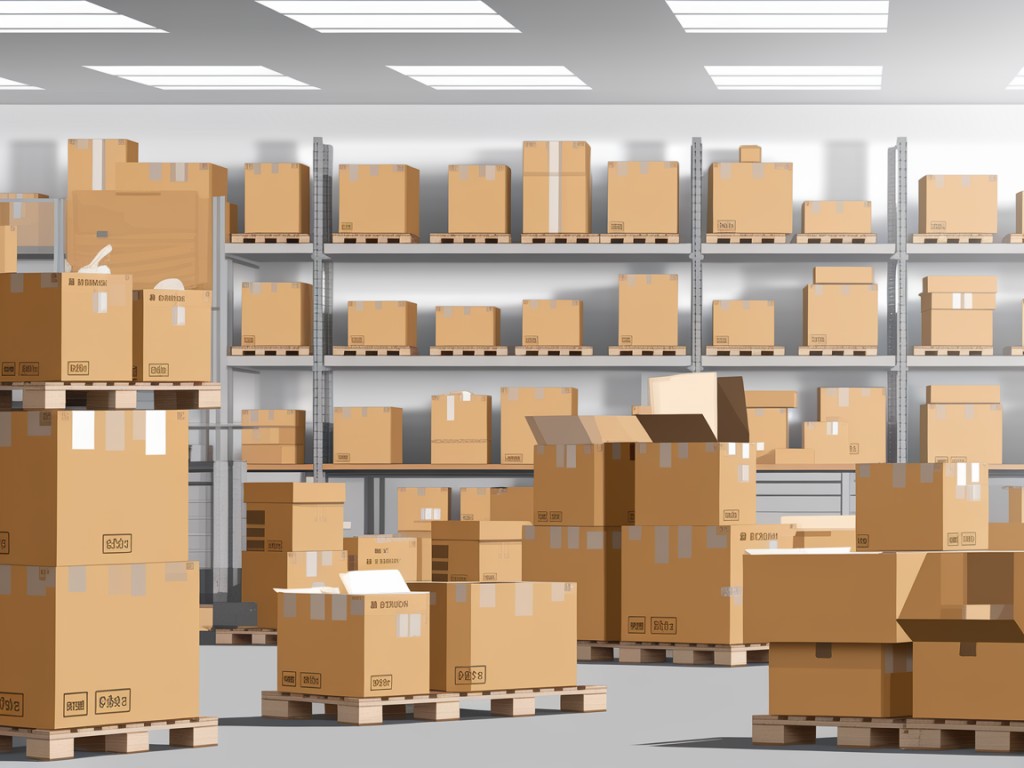
DIY Cardboard Bookshelf: Easy Instructions - Cardboard shoe box packaging solution
- Flat packed cardboard boxes for easy storage
- Luxury rigid box packaging with foam
- Lightweight corrugated cardboard mailers
- Custom litho laminated graphic cardboard boxes
- Eco-friendly corrugated cardboard boxes for shipping
DIY Cardboard Bookshelf: Easy Instructions - Cardboard shoe box packaging solution
- Mailer cardboard boxes with self sealing tape
- Cardboard wine bottle packaging boxes
- Corrugated cardboard moving boxes with handles
- Fold and lock cardboard shipping boxes
- Large inventory storage cardboard boxes
Step 4: Reinforce the Structure
To ensure your cardboard bookshelf is sturdy, consider adding additional support. You can cut smaller pieces of cardboard and glue them diagonally in the corners of the bookshelf. This will help prevent wobbling and increase the overall strength of your creation.
Step 5: Personalize Your Bookshelf
Now comes the fun part-personalizing your bookshelf! You can paint the entire structure in your favorite color or cover it with decorative paper for a more textured look. Consider using patterns or images that reflect your personality or the theme of your room. For a more sophisticated touch, you might even want to add some varnish or sealant to protect the surface and give it a finished appearance.
DIY Cardboard Bookshelf: Easy Instructions - Cardboard shoe box packaging solution
- Corrugated cardboard art portfolio boxes
- Heavy load corrugated transport boxes
- Green certified FSC cardboard boxes
- Cardboard shoe box packaging solution
- Pharmaceutical cardboard packaging boxes
Step 6: Final Touches and Placement
Once you're satisfied with the look of your bookshelf, allow it to dry completely before placing it in your desired location. When it's ready, arrange your books in an organized manner. You can mix in decorative items, like plants or picture frames, to create an appealing display.
Conclusion
Creating a DIY cardboard bookshelf is not just a practical solution for organizing your books; it's also a fantastic opportunity to unleash your creativity. This project encourages resourcefulness and provides a sense of accomplishment as you construct something functional from everyday materials. Moreover, it's an enjoyable experience that can be shared with family or friends, making it a perfect weekend activity. So gather your materials, unleash your imagination, and transform simple cardboard into a beautiful, personalized bookshelf that showcases your love for literature and creativity. Happy crafting!


